
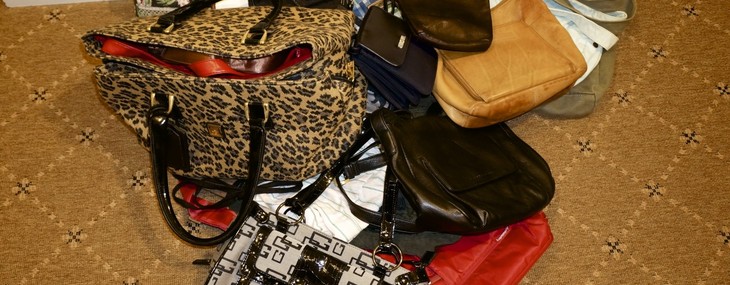

I offer you an organizational idea, my first for this, my new blog. I enjoy organizing, although a closet seems always a work in progress. Despite having a dressing room, large and pretty efficient, I found I avoided using most of my purses stored there because they were all in a bin, and finding the one I needed, usually on the bottom, meant unloading them all, and fighting with the inevitable shoulder straps all in a mighty tangle.
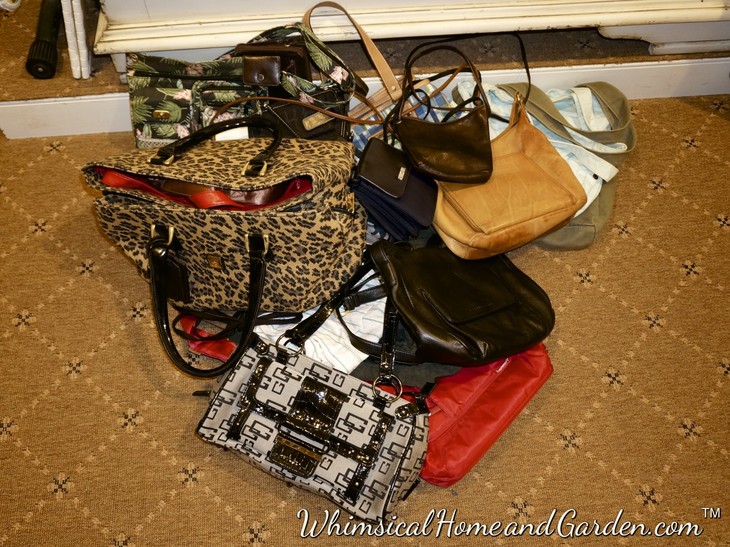
Many times, usually because I was in a hurry, I gave up, scooping them all back up and dumping them back in the bin. Kept them out of sight, but neither accessible or usable. So after thinking about what would work for me, I decided on a purse display board. The end result could also work for scarves, belts, hats, etc.
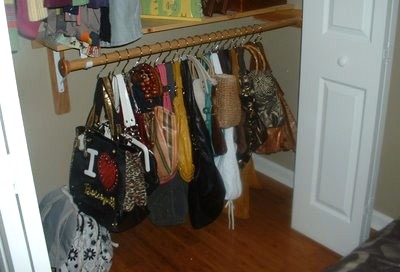
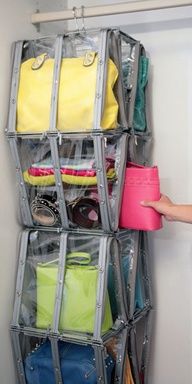
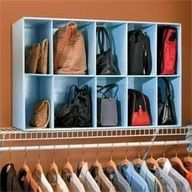
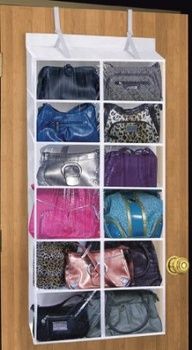
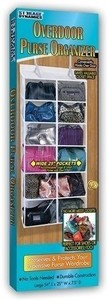
I considered the following among many, but felt they took up too much space, required using a stepladder, and were not functional for the allowed amount of space I had.


Sorting through the purses, I also discovered, that even though I had many that were quite lovely, I had come to the point of having favorites, and the others just never got used. I made a pile of those I no longer knew I would not use, because I hadn’t, and off they went to the thrift shop locally that sells donations and the profits go to the animal shelters. A couple of years ago I mad a promise to myself that I would go through things…..clothes, shoes, etc., and if I hadn’t worn or used them in the last year, out they go. I have been pretty good sticking to that. That effort all began because of a major loss in my life, another story, and helped me really come to grips about “stuff”.

Anyway, after looking in the dressing room for appropriate wall space, I measured and decided the ideal board for that space worked out to be 19 wide by 51 high.

Because we are always up to building something around here, the workshop was the source for the perfect piece of leftover birch plywood. We trimmed it to size.
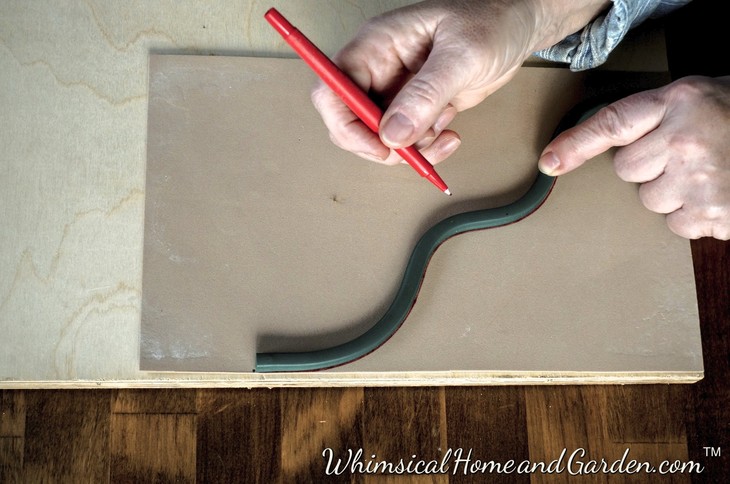
I played around with a design to fancy it up a bit using a flexible French Curve . You can use anything handy as a substitute…..cup, can, plate etc. for a curve if you decide that is what you want. Experiment with what is pleasing and what you might like best design wise. The french curve I have is flexible so that you can shape it,and it then holds its shape so you can easily trace the pattern. It is also old, so I cannot provide a source for this exact one, only for a new one that is actually better, as it has dimensions printed right on it….. go here: French Curve You might be surprised at how many projects where a flexible french curve would come in handy.

Begin by finding the mid-point at the top of the board. Mark it, then lay down the flexible french curve on your template material and trace your selected curve pattern with a thin magic marker. I used craft foam for my template. Cut the pattern, which will be one half of the total. After you trace one side, you flip it over to mark on the other side. Make sure to align with your mid-point mark at top, and that the template is flush to the outside of the board.


After you have traced both sides, cut with a scroll saw.

Sand. I cannot emphasize how important it is to sand well for a finished and professional look. It is in the details that take time, that determine the quality of a finished job, one you will be proud of.

I decided to embellish it a bit by routering the entire board with an ogee edge. After running the router all the way around, first take a sanding block to knock off the frayed edges that inevitably occur when you work with plywood. Then sand smooth.


I then took a flexible filler to fill in any “holes” in the plywood edge exposed by the router, usually just a few. Sand lightly after filling.
I decided on a glossy black finish. I first primed with latex Kilz, 2 coats. Lightly sand with 220 sandpaper or a “fine” sanding sponge. I then painted 2 coats, sanding lightly between coats, with a flat black latex paint. All the paint I used were leftovers from previous projects. Sand lightly between coats. I then used a glossy, high sheen spray paint for the final coat. I left it to dry for 5 days as the hardness of the finish can take up to a week to develop and will affect the durability. I was anxious to hurry the project along as purses were now all over the dressing room floor. Sometimes patience is important!
In the meantime, I headed to Lowes to look for some hooks. Knowing the purses (and a few scarves) I would hang, the thickness of the straps, and the various sizes, I decided on three different kinds of hooks. Of course I looked for pretty, and hopefully I could find something to add a bit of whimsy. I ended up with brushed pewter Dragonfly hooks, small double hooks and knobs that had a pattern complementing the dragonfly. Before I picked them out I kind of visualized how many I would need. I bought 3 Dragonfly, 3 knobs and 6 double hooks.
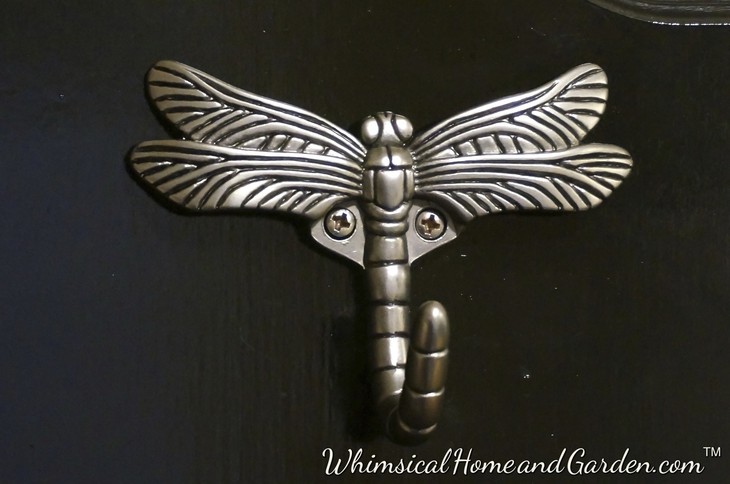
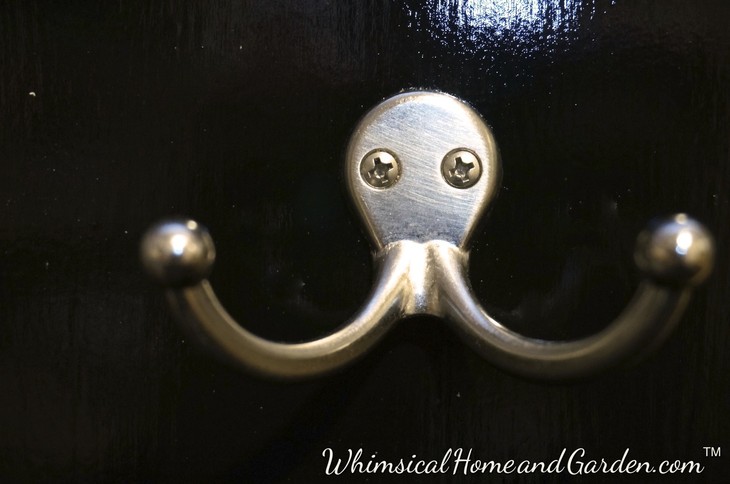

I played around with many different arrangements before I decided on a final one. I used the Dragonflies at the top so they could remain visible. The three different type of hooks allow for hanging various types of shoulder straps without damaging them.
I had at first thought about adding a decorative piece at the top but ended up deciding the hooks were enough. Although the arrangement below looks pleasing enough, I didn’t go with it.

Mounting them takes a bit of time and patience, but will go quicker if you make accurate measurements for spacing, or even use a paper template. Using two drills, I had one to drill, and another to drive the screws from the back into the hardware. Goes faster than changing from drill bit to driver. Below is my final arrangement, ready to hang.

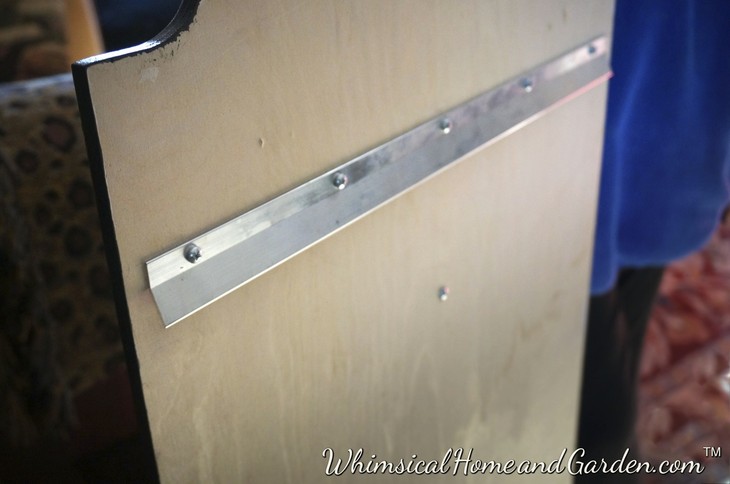
Finally it came time to mount it! Instead of mounting it like a mirror or piece of art, I planned on making a french cleat. This would provide a permanently level board without any sliding from side to side because of a change in weight distribution from the purses. While going down the hardware aisle at Lowes to the checkout line, I came across this picture hanging kit, which is essentially a metal french cleat, and holds 200 lbs. It comes with the screws and mollies (if you need them) and an adorable mini-mini level. This kit made it was super easy to mount to the purse board and to the wall. Available at Lowes

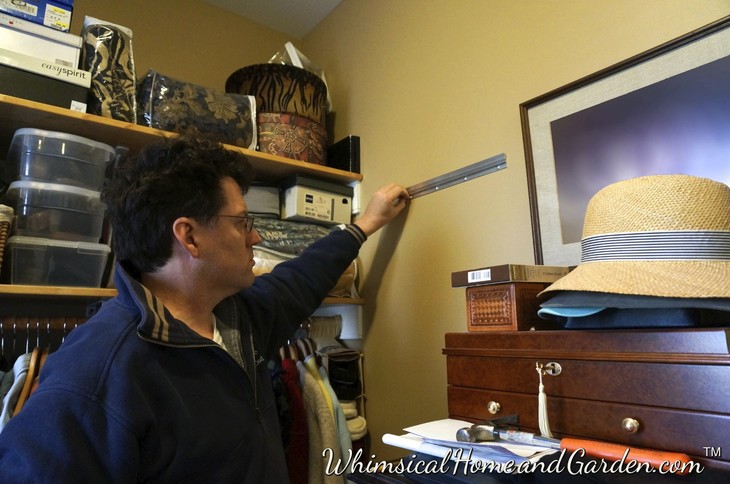
Then all you had to was hang your completed purse board and admire your newly efficient purse storage project. The mini-mini level was very accurate as I checked with a longer level! I have already used several purses I hadn’t used for a long time because they are now so easy to see, choose and use. I am a grab and go person and this allows me to do just that. If you are especially motivated to do so, you might make another if you have a lot of purses, or to use for belts and scarves or hats. Hope you enjoyed my first organizational post. I hope you will come back to visit me again soon, or sign up to receive my posts. Cheers! charisse


I am duly impressed ! Great idea ! You ,go girl …!
Thank you. I actually change purses now.
Good job. You have a handy craftsman too! It adds a random-changing-multicolored decoration to the wall too.
Thanks! We had fun doing this project, and it went quickly except for waiting for the paint to “season”.