Well, done except for a new light fixture for the front door. I had planned on looking for one today but last night I received a call from Bearded Collie Rescue via LS in Charlotte, NC. There was a Beardie in Bedford, VA- in the shelter, that needed to be pulled. I couldn’t do it tomorrow, and they are closed Sunday, which would have been his put to sleep day, so I left early this morning to make the drive down and back, and then straight to the vet for a checkup. Unfortunately he is heart worm positive, but his can be treated with the usual monthly treatment and the addition of doxycycline, thankfully. He will be neutered next week, and in the meantime needs a major beauty treatment, which KBJ will help me with tonight. Poor fella was found as a stray, no one claimed him, although it appears he had owners a one time as he is very sweet, intelligent and travelled well in a soft crate in my van. There are already folks prescreened ready to adopt, so hopefully in a few weeks he will be ready to go.
Soooo, now on to the garden house. The final project was to build a flower box. I had leftover cedar siding from the garden house build, as well as trim and we used more of the redwood as well.
Cutting the pieces on the table saw was pretty straight forward once I decided on dimensions.KBJ assembled the box using non corroding deck screws. The cedar had already been stained both sides when the garden house was being built, but I wanted it to be the same color as the shutters, so at this stage I gave it one coat of paint.Using leftover pine shelving boards, I cut boards that the metal shelf brakets would be attached to. The box was also to be lag-bolted to the garden house wall.First we centered it, using the table to hold it up at the height I decided on, and then checked for level. I wanted it to be low enough that flowers would not interfere with the light coming into the windows, and also be low enough that it was easy for me to take care of. You have to kind of imagine what it will look like full of flowers to make the decision as to what height looks best. I would have like to have made it long enough to go to the end of the shutters, but I was working with scrap wood, and feel fortunate the boards ended up being as long as they are. If I use flowers on the ends that are full but cascade over the sides, the box will appear to be the full length. ahhh, illusion!
Attaching it with lag screws, typically used to attach landscape timbers together. The pieces of wood are scrap redwood, and the lags are set in the studs of the garden house wall.Here the side view shows the dividers we put in to help make the box more rigid. After the box was screwed into the garden house wall, I can tell you that box was going nowhere, either with dirt in or out! It is attached in four places.Here are the boards attached to both the wall and the bottom of the box with non-corroding deck screws. The box has also been trimmed out and two coats added to the inside and outside of the box.Now we attach the iron brackets, and the box is complete.Closeup of the brackets. They were very heavy, and wide, which I liked.Closeup of the trim at the top trim. We also drilled holes in the bottom of the box to allow for good drainage.
OK…….BEFORE:
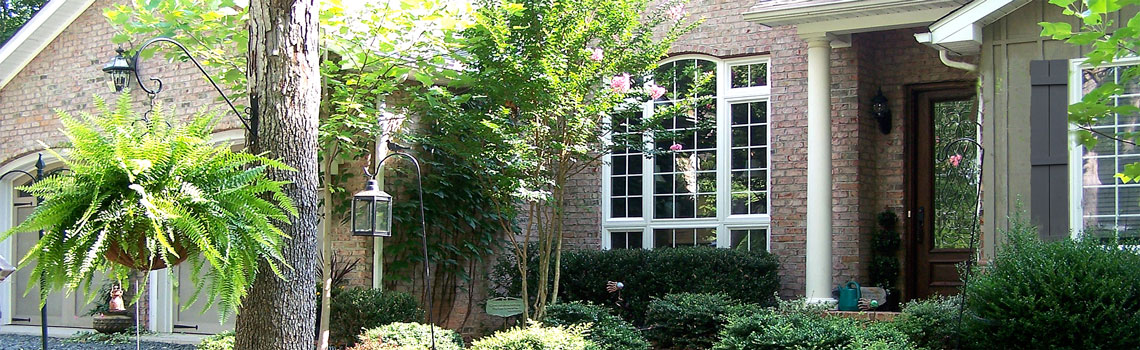
I have always enjoyed sitting on the benches and in the late fall, enjoying a fire in the fire pit.I was actually wanting to paint the door the fuchia color of the flowers in the hayrack planter, but could only match it with Pantone color chart, so decided to wait for another time.
AND AFTER:
Ended up painting the door the same gray, and like it for now. We’ll see what happens when I change out the light fixture.Hope you like the change. We had fun making it happen.
Well, that’s all folks for today. Thank you for reading. I am dead tired after the trip to the shelter to pull the dog……more on him later as well. At least he is bathed and no mats, and no bad odor!!! I hope you are having the same wonderful weather we have had all week. Tomorrow I am heading back to Milmont Gardens for the Harvest Festival and hope to have good photos to post. Laters, charisse
4 comments
Yeah!!!!! Congratulations on completing the project. What a great job!! Beautiful work. Love the rescue story too. Bless you!
Victoria
Thanks. It was really fun to work on and to see the transformation ourselves in photos. It is just so awesome to be working outside after such a challenging summer.
I have really enjoyed your transformation story. Everything looks fabulous!! Can’t wait to hear all about your rescue operation. Bless you for doing that. Can we see before and after pics? Hope so!
Thanks Sally. I will share before and after photos of the rescue fella. His name is Sutton, and he has already endured a major groom, bath, some meds and some more to go, poor guy. But what a sweet and intelligent dog he is.